
This device isn't Play Protect certified - easy fix for Android 14 and older
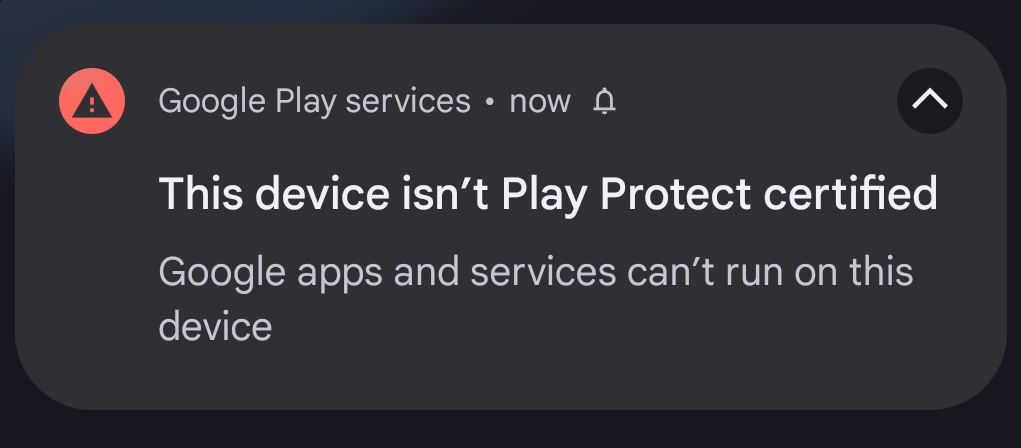
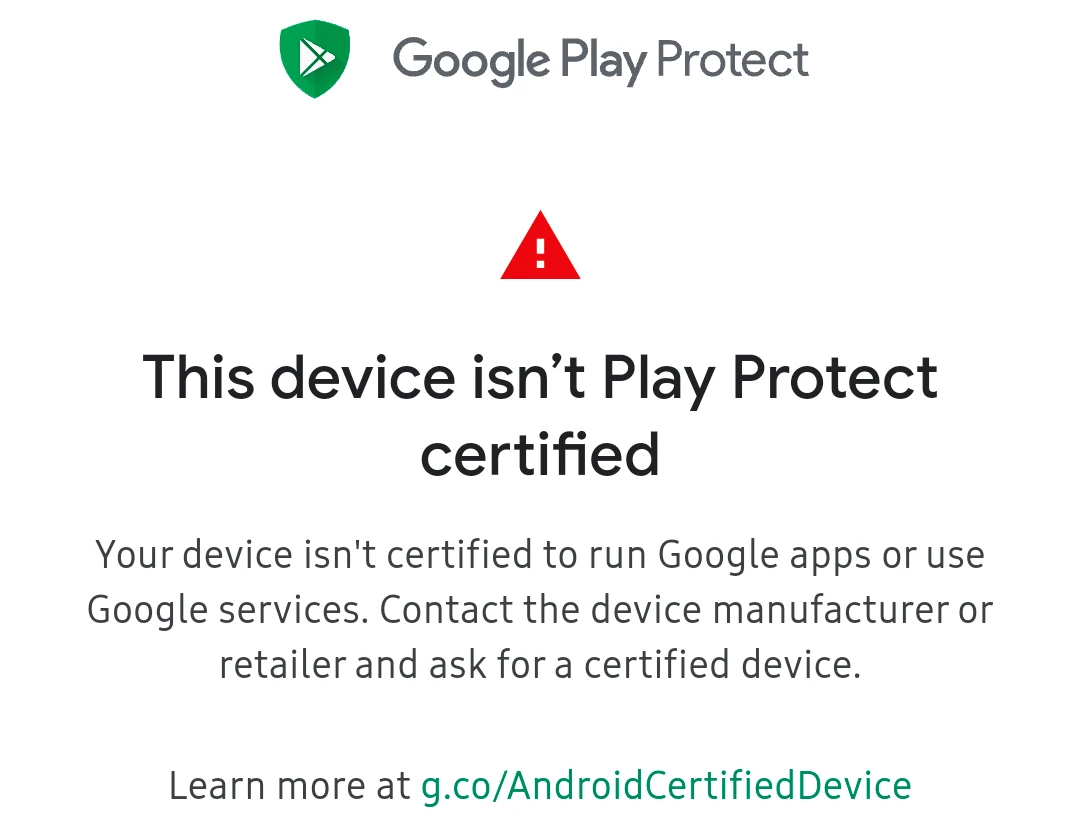
After flashing a custom ROM, installing a Google Mobile Services package, or sometimes even after upgrading the OEM's Android version on your device, you may receive the following notification:
Method 1 (no PC required)
This is the easiest method for fixing the Play Protect certification issue. It does not require using a PC and takes less than 10 minutes to complete.
- Download the latest Device ID .apk file. This step may not be as simple as it seems because the preinstalled browser may complain about the lack of Play Protect certification. In this case, download also Firefox on another device and transfer both files to your problematic device.
- Install the downloaded .apk file(s) using file manager. If the installation of the Device ID app fails, try following the second method from this article.
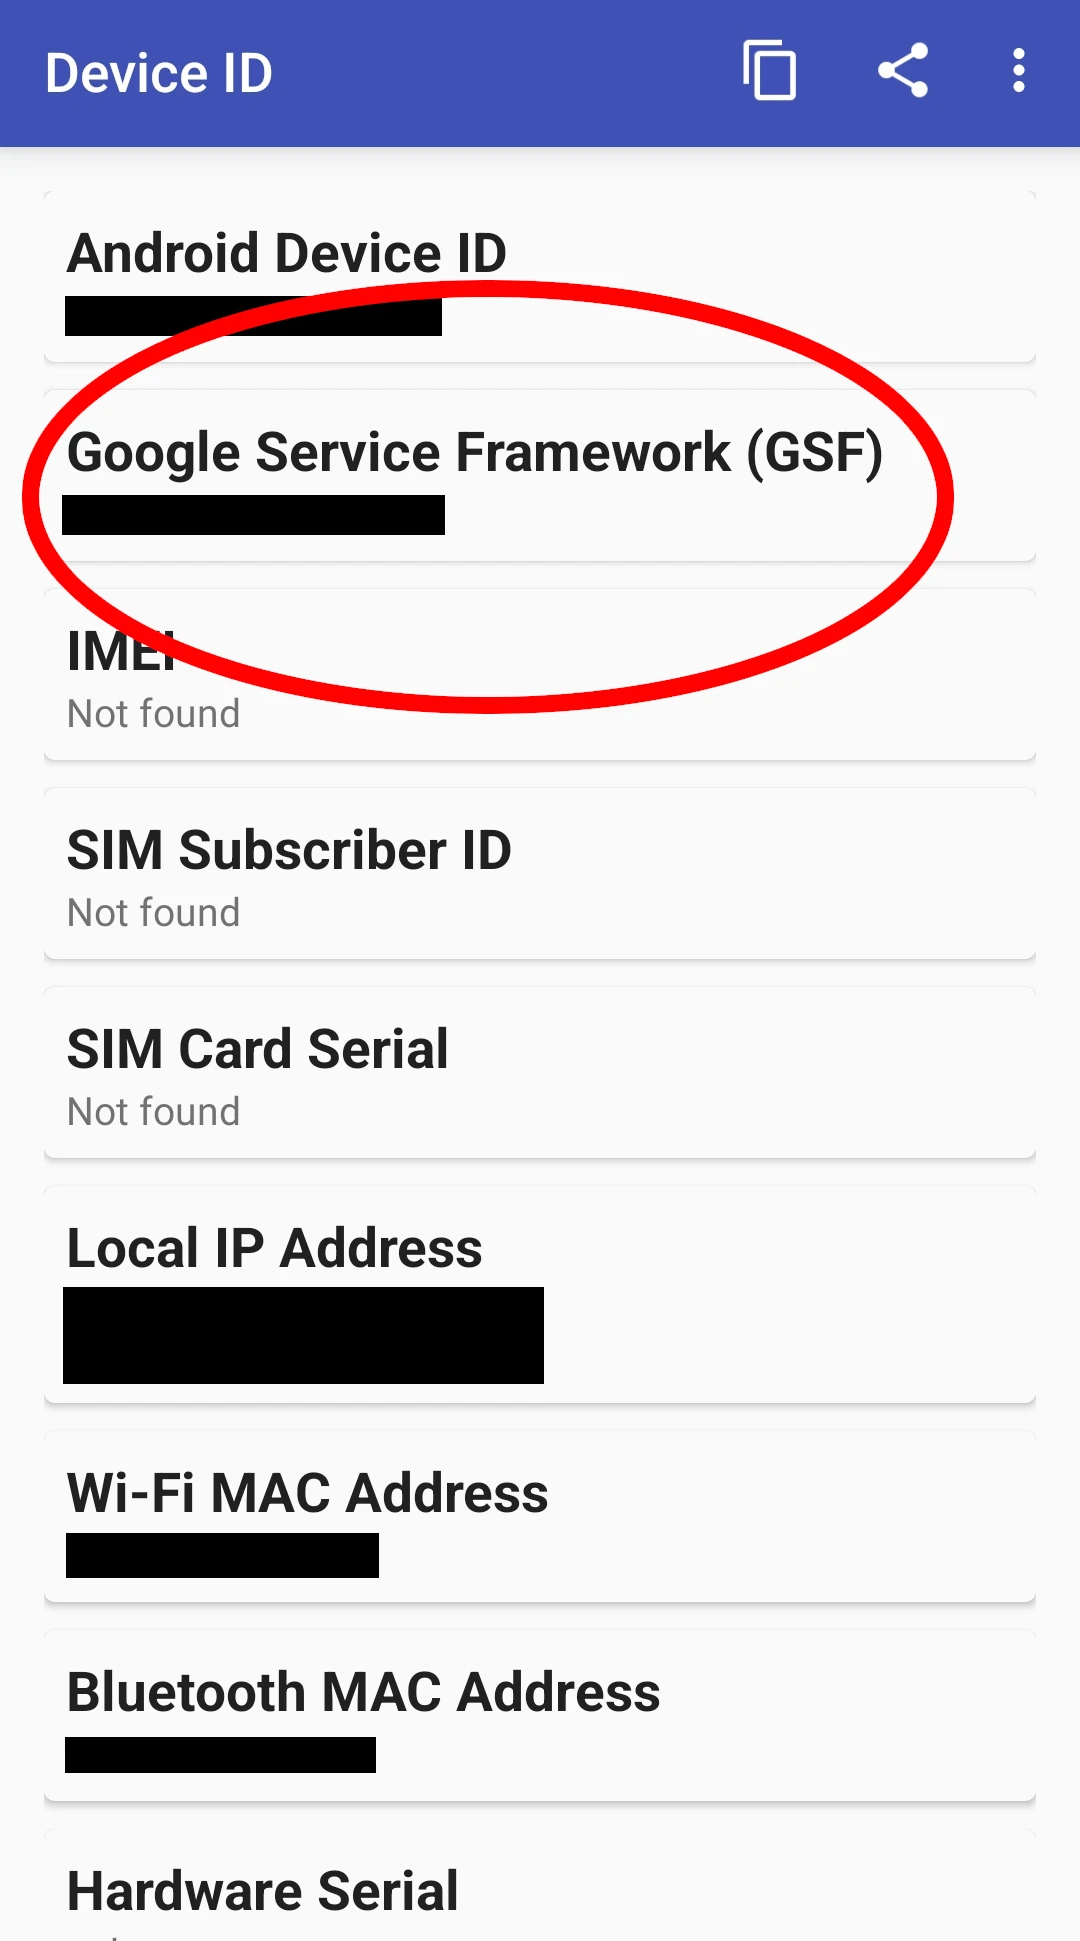
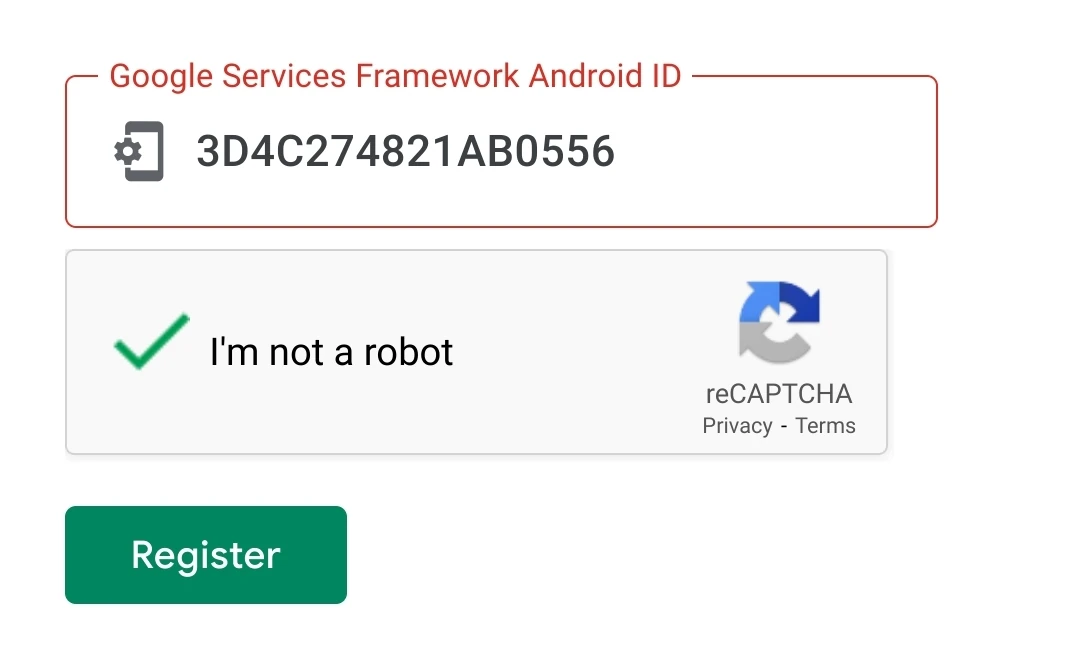
- Open the Device ID app. Find the Google Service Framework (GSF) value, tap on it and copy it to the clipboard.
- Go to www.google.com/android/uncertified/. Log in with your Google account, paste the value from your clipboard, and complete the captcha test. Then click Register.
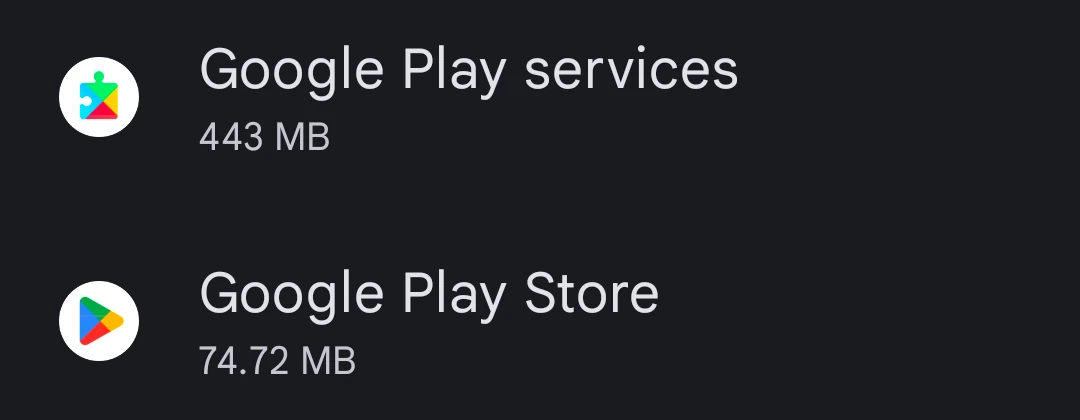
- Go to Settings -> Apps -> All apps. Find Google Play Services and Google Play Store. Force stop them and clear their cache & storage.
- Reboot your device.
- Voilà. You should now be able to log in to your Google account and use most of your apps.
Method 2 (PC required)
This method is slightly more difficult than the first one and may take more time. However, it might be the only working method for some users because the Device ID app fails to install on some devices with newer Android versions.
- Unlock developer options on your device. To do this, go to Settings -> About phone and click Build number 7 times. This procedure might be slightly different on some Android ROMs.
- Go to Settings -> System -> Developer options. Scroll to the Debugging section and turn on USB debugging and Rooted debugging.
- Install ADB on your PC
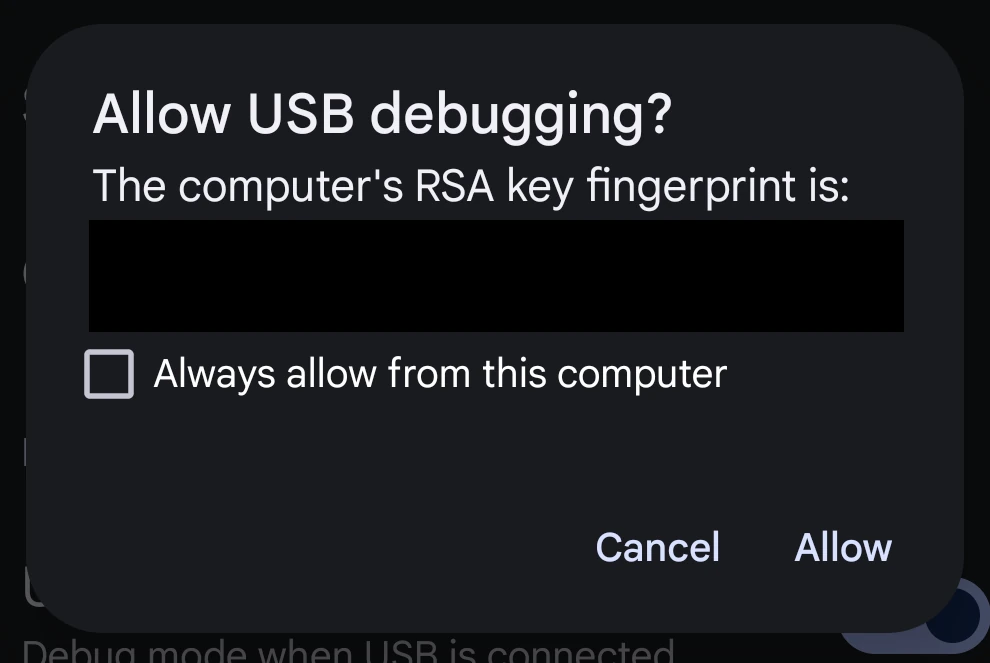
- Connect your device to your PC via a USB cable. Allow for USB debugging.
- Run the following command:
Make sure you can see your device in the list of connected devices.adb devices - Restart the ADB service as root by running the following command:
adb root - Use this command to find your Google Services Framework Android ID:
This command should work on most Android ROMs. If you get the following error:adb shell 'sqlite3 /data/*/*/*/gservices.db \ "select * from main where name = \"android_id\";"'
try following the third method./system/bin/sh: sqlite3: inaccessible or not found - Go to www.google.com/android/uncertified/. Log in with your Google account, paste the value obtained from the previous step, and complete the captcha test. Then click Register.
- Follow steps 5-7 from the first method.
Method 3 (PC required)
Follow this method if the seventh step from the second method failed for you.
- Follow steps 1-6 from the first method.
- Run the following command to copy the gservices.db file from its original location to the Download folder:
adb shell cp /data/*/*/*/gservices.db /storage/emulated/0/Download - Now pull the gservices.db file to your PC:
adb pull /storage/emulated/0/Download/gservices.db - Install sqlite3 on your PC. If you use a Debian-based Linux distribution, you can do this by running the following command:
If you use Windows, follow this tutorial. To verify that sqlite3 is correctly installed on your computer and present in the path, run the following command:sudo apt install sqlite3
It should output the version of sqlite3 installed on your PC.sqlite3 --version - Finally, use this command to find your Google Services Framework Android ID:
sqlite3 gservices.db "select * from main where name = \"android_id\";" - Follow steps 8 & 9 from the second method.
After following this guide, you should be able to use Google Mobile Services on your device. However, some banking or government apps might still refuse to work. This is because fixing Play Protect certification does not fix SafetyNet or Play Integrity attestation. Dealing with them is beyond the scope of this article and will be discussed in the future on customrombay.org.
About the author

Piotr Lange
A young software developer, custom ROM maintainer, LineageOS contributor and FOSS enthusiast. Lead developer at customrombay.org. IBDP student from Poland.
Did you like this post? Support its author via PayPal!